


 Call Us Today - (856) 305-9883
A Guide to Eliminating Water Stains on Your Ceiling After a Roof Leak

Water stains on your ceiling create more than just an unsightly mark, they signal potential structural damage that needs immediate attention. When roof leaks get through your home’s protective barrier, ceiling water damage repair becomes an important task for maintaining both your property’s appearance and structural integrity.
Ceiling stains caused by roof leaks typically appear as yellow, brown, or rust-colored patches that spread across your ceiling’s surface. These patches of discolorations develop when water seeps through compromised roofing materials, saturating insulation and drywall before showing itself. The longer these stains remain untreated, the more extensive the damage becomes, potentially leading to mold growth, structural weakness, and a decrease in property value.
Understanding how to fix water stains on the ceiling from a roof leak requires addressing both the cosmetic damage and the underlying moisture issues. Water stain removal techniques vary depending on the severity of the damage, the type of ceiling material, and how long the stains have been present.
Identifying the Source and Stopping Active Roof Leaks Before Repair
Successfully addressing ceiling water damage repair begins with pinpointing exactly where water enters your roofing system. Locating roof leaks and ceiling stains often proves challenging because water rarely travels straight down from its main entry point. Instead, moisture typically follows rafters, pipes, or other structural elements before appearing as ceiling discoloration in unexpected locations.
Start your investigation in the attic during the day, looking for wet insulation, water trails, or visible light shining through the roof deck. Dark stains on wood framing members indicate prolonged moisture exposure, while fresh water droplets reveal active leaks. Pay special attention to areas around gaps in the roof like chimneys, vents, and skylights, as these represent common failure points.
Once you identify the source of the leak, implement immediate temporary measures to prevent additional water stain removal in ceiling projects. Place tarps over exterior roof damage, securing them tightly with lumber or sandbags. Inside your home, position buckets or containers to catch dripping water, and move furniture away from the affected areas.
Document the damage with photographs before beginning any repairs. This documentation proves valuable for insurance claims and helps roofing professionals understand the extent of repairs needed.
Assessing the Extent of Ceiling Water Damage
Determining the severity of ceiling water damage repair requires carefully examining beyond the visible stains. Surface-level roof leaks and ceiling stains may appear alarming but often represent minor cosmetic issues, while deeper structural damage demands immediate professional help. Understanding these differences helps homeowners make informed decisions about water stain removal and ceiling approaches.
Surface damage typically shows itself as discoloration without texture changes to the ceiling material. These stains feel dry to the touch and show no signs of sagging, cracking, or peeling paint. Light brown or yellow ceiling discoloration from a leak often indicates recent moisture exposure that has dried completely, making these situations suitable for DIY restoration efforts.
Structural concerns become apparent through specific warning signs that require professional assessment. Sagging ceiling sections indicate damaged drywall or plaster that may collapse unexpectedly. Soft, spongy areas when gently pressed suggest ongoing moisture retention and potential mold growth within ceiling materials. Cracking, bubbling paint, or visible mold spots signal extensive damage requiring specialized techniques to repair it.
Professional intervention becomes necessary when stains cover large areas exceeding more than 4 square feet, when multiple stains appear throughout the home, or when musty odors accompany visible damage. Additionally, recurring stains after attempted repairs indicate persistent leaks requiring expert diagnosis. Understanding how to fix water stains on the ceiling from a roof leak includes recognizing when professional expertise ensures safe, lasting solutions rather than temporary cosmetic improvements that mask underlying problems.
Essential Tools and Materials for Water Stain Removal
Proper equipment ensures safe and effective ceiling water damage repair while protecting both the worker and the surrounding areas from potential hazards. Personal protective equipment, including safety glasses to shield eyes from falling paint chips and cleaning solution splashes, dust masks or respirators to prevent breathing in mold spores, drywall particles, and chemical vapors commonly encountered during water stain removal and ceiling projects, and work gloves to protect your hands from rough surfaces and harsh cleaning chemicals.
Cleaning and restoration materials vary based on the severity of the stain and the ceiling’s material composition. Mild detergent solutions work effectively for fresh ceiling discoloration from a leak, while stronger bleach-based cleaners tackle stubborn or mold-related stains. Stain-blocking primers prevent bleed-through when painting over treated areas, ensuring lasting results from repair efforts.
Specialty products address specific types of damage that may occur along with water stains on the ceiling. For instance, mold-killing primers eliminate fungal growth while sealing affected surfaces. Texture spray restores the original ceiling appearance after repair work, while ceiling paint formulated for high-moisture environments provides enhanced durability. Quality brushes, rollers, and drop cloths complete the essential toolkit for professional-grade restoration results.
The Process for Removing Water Stains from Ceilings
Effective ceiling water damage repair begins with thorough surface preparation to ensure cleaning solutions break down stains completely. Remove all furniture and belongings from the work area, then lay protective plastic sheeting across the floors and remaining fixtures. Scrape away any loose, peeling paint or damaged ceiling material using a putty knife, working gently to avoid creating additional damage to surrounding areas.
- Clean the stained area using appropriate solutions based on stain severity and age. For light roof leak ceiling stains, mix warm water with mild dish soap and apply using a clean sponge, working from the outside edges toward the center to prevent spreading. Stubborn ceiling discoloration from a leak requires stronger treatment with a bleach solution. Add 1 part bleach to 10 parts water, and apply with a spray bottle, allowing it to sit for 15 minutes before gentle scrubbing.
- Surface preparation continues after initial cleaning with thorough steps for drying and priming. Allow cleaned areas to dry completely for at least 24 hours before proceeding. After, apply a high-quality stain-blocking primer specifically designed for water stain removal in ceiling projects, using thin, even coats to prevent drip marks and ensure complete coverage of affected areas.
- Complete the repair by applying matching ceiling paint once the primer has cured according to the manufacturer’s specifications. This approach to fixing water stains on the ceiling from a roof leak prevents recurring stains and ensures professional-looking results that restore your ceiling’s original appearance while addressing underlying moisture concerns.
Priming and Painting Techniques for Professional-Looking Results
Selecting an appropriate primer represents the most important step in preventing future ceiling water damage repair issues and ensuring lasting results. Stain-blocking primers create an impermeable barrier that prevents roof leak ceiling stains from bleeding through new paint. Oil-based primers offer superior stain-blocking properties for severe discoloration, while high-quality latex primers work effectively for lighter ceiling discoloration.
Specialized stain-blocking formulas contain additives that chemically bond with tannins and other stain-causing compounds commonly found on water-damaged materials. These primers prevent the yellow or brown discoloration from reappearing weeks or months after completion of water stain removal ceiling projects. Apply primer using cross-hatch patterns with a high-quality brush or roller, ensuring coverage extends slightly beyond the original stain.
Paint selection affects both the appearance and durability of the roof, impacting the results of water damage repair. Ceiling-specific paints offer enhanced hiding power and reduced spattering during application. Flat finishes help camouflage minor surface imperfections while maintaining the uniform appearance typical of residential ceilings.
Use long, smooth roller strokes in one direction, then cross-roll perpendicular to the first application for even coverage. Maintain a wet edge during painting to prevent lap marks, and apply thin, multiple coats rather than attempting single heavy coverage that may result in drips or uneven texture.
Preventing Future Water Stains Through Roof Maintenance
Establishing a proactive maintenance schedule prevents the expensive cycle of ceiling water damage repair by addressing vulnerabilities and damage in the roof before they create interior problems. Regular roof inspections, ideally conducted twice a year in spring and fall, allow homeowners to identify potential issues before they become unmanageable. These scheduled assessments focus on common failure points where roof leaks and ceiling stains typically originate.
Essential maintenance tasks include clearing gutters and downspouts of debris that causes water backup and ice dam formation. Inspect and replace damaged or missing shingles promptly, as even minor roof damage can quickly turn into major ceiling discoloration from leak problems. Check flashing around chimneys, vents, and roof gaps for separation or deterioration, as these areas frequently develop leaks that result in water stain removal in ceiling projects.
South Jersey’s climate presents specific challenges that increase roof vulnerability throughout the year. Winter freeze-thaw cycles create expansion and contraction that loosen roofing materials and open seams. Summer heat accelerates shingle deterioration, while autumn leaves clog drainage systems. Spring storms test every aspect of roof integrity through wind-driven rain and hail damage.
Warning signs that indicate developing problems include granule accumulation in gutters, curling or cracked shingles, and rust stains on siding below roof edges. Interior indicators such as musty odors, small ceiling stains, or humidity changes often precede visible roof water damage and ceiling repair needs. Recognizing these early symptoms and addressing them promptly prevents extensive water stain situations that require major restoration efforts.
Ensure Your Ceiling is Kept Intact with Grand View Roofing & Exteriors
If you’re struggling with ugly water stains on your ceiling from a roof leak, it’s crucial to address the stain, but it’s even more important to get to the underlying cause. Ignoring the issue can lead to more significant damage, compromising both the appearance and structural integrity of your home. Grand View Roofing & Exteriors specializes in diagnosing and repairing roof leaks that lead to ceiling water damage.
Don’t let a roof leak dampen the comfort and safety of your home. Call Grand View Roofing & Exteriors today at (856) 305-9883 to schedule a consultation.
Related Articles
-
 January 2, 2026Why Emergency Roof Tarping Can Save Your Home From Water DamageWhy tarp a roof? Learn how emergency roof tarping helps prevent costly water damage and protects your home.
 -
 November 15, 2025How to Spot Hail Damage on Your Roof After a StormUnsure if your roof took a hit from the hailstorm? Discover the key signs of hail damage and get expert tips for insurance claims.
 -
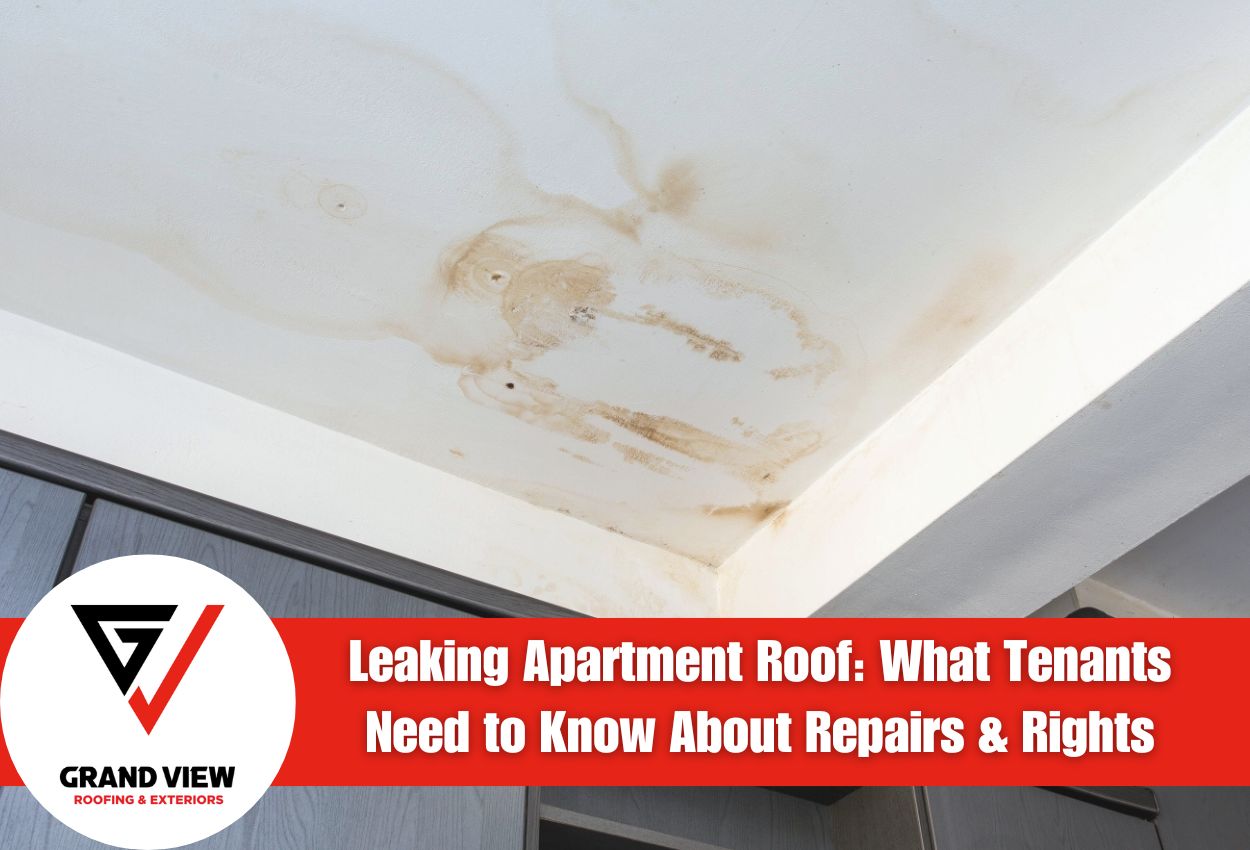 August 11, 2025Leaking Apartment Roof: What Tenants Need to Know About Repairs & RightsGot a leaking apartment roof? Learn the signs, your rights, and quick steps to protect your belongings until repairs are done.
Protect Your Home with Expert Roofing
Don’t wait for leaks or storm damage to cause costly repairs. Our experienced roofing team provides fast, reliable service, high-quality materials, and lasting results. Ensure your home stays safe, secure, and looking great—contact us today for a free estimate.