


 Call Us Today - (856) 305-9883
A Guide to Roof Flashing Inspection and Maintenance for Homeowners

Roof flashing serves as the critical waterproof barrier protecting homes from leaks at vulnerable roof joints and transitions. These thin metal strips, typically made from aluminum, copper, or galvanized steel, seal areas where the roof meets chimneys, vents, skylights, and valleys. When flashing fails, seeps beneath roofing materials, causing extensive damage to structural components, insulation, and interior spaces.
Regular roof flashing inspection and maintenance prevent minor issues from developing into major structural problems. Common failure points include deteriorated sealants around chimney flashing, corroded valley flashing, and improperly installed step flashing along roof-to-wall intersections. South Jersey’s climate conditions, including freeze-thaw cycles, heavy rainfall, and temperature fluctuations, accelerate flashing deterioration and create additional stress on these protective barriers.
Proactive flashing leak detection and quick repairs preserve roof integrity while avoiding extensive water damage repairs. Understanding how to identify step flashing problems, recognize valley flashing maintenance needs, and spot chimney flashing warning signs helps homeowners protect their investment and maintain a watertight roofing system.
Critical Warning Signs Your Roof Flashing Needs Immediate Attention
Recognizing early warning signs of flashing failure prevents expensive water damage and structural deterioration. Visual indicators visible from ground level include rust stains on metal flashing components, hairline cracks along seams, and loose sections pulling away from roofing materials. Corroded valley flashing often displays orange or brown discoloration, while step flashing problems manifest as gaps between metal strips and siding or shingles.
Interior warning signs typically indicate that flashing leak detection should have occurred earlier, as water has already gotten into the roofing system. Water stains on ceilings near chimneys, vents, or roof valleys signal compromised flashing seals. Musty odors in attic spaces suggest ongoing moisture intrusion from failed chimney flashing or deteriorated valley connections. Ceiling discoloration, peeling paint, or visible water marks around roof gaps require immediate roof flashing repair to prevent further damage.
Homeowners should schedule a professional roof flashing inspection when these symptoms appear, as delayed valley flashing maintenance or chimney flashing repairs can lead to extensive structural damage, mold growth, and compromised insulation performance throughout the roofing system.
Safety Protocols for Inspecting Different Types of Roof Flashing
Safe chimney flashing inspection begins with proper ladder placement at a 4:1 ratio against the house, ensuring three points of contact while climbing. Inspect chimney flashing from ladder height, looking for cracked mortar joints, separated metal seams, and deteriorated caulking around the chimney base. Check for rust spots, loose flashing sections, and gaps where metal meets masonry surfaces that indicate potential leak points.
Vent inspections require examining rubber boots and metal collars surrounding pipes. Look for cracked rubber seals, loose clamps, and separated joints where flashing meets roofing materials. These areas frequently develop step flashing problems due to thermal expansion and weather exposure.
Ground-level valley flashing inspections use binoculars to examine valley intersections where roof planes meet. Focus on identifying debris accumulation, separated seams, and visible gaps in metal channels that could cause water backup. Step flashing along dormers and roof edges can be assessed from safe distances, checking for loose sections, missing pieces, and damaged connections that compromise roof flashing repair effectiveness and require professional intervention.
Seasonal Maintenance Schedule to Prevent Flashing Failures
Spring maintenance tasks focus on addressing winter damage and preparing flashing systems for heavy rainfall periods. Remove accumulated debris from valleys and around chimney bases, as organic material traps moisture against metal surfaces and accelerates corrosion. Inspect sealant joints around all gaps, looking for cracked or missing caulk that allows a leak to form. Clean gutters thoroughly to ensure proper drainage, as overflowing water can saturate flashing connections and cause premature failure.
Fall preparation includes a comprehensive chimney flashing inspection before winter weather arrives. Check for loose step flashing sections that wind could dislodge, and verify that all valley flashing remains securely fastened. Remove leaves and debris that accumulate around flashing transitions, as decomposing organic matter creates acidic conditions that corrode metal components.
Post-storm inspections require immediate attention to prevent minor damage from becoming major problems. Check for displaced flashing pieces, impact damage from falling branches, and wind-lifted sections that expose underlying materials. Look for new gaps or separations at flashing joints, bent metal components, and damaged sealant connections. Schedule professional roof flashing repair quickly when storm damage occurs, as compromised flashing allows rapid leaks to form during bad weather.
Professional Leak Detection Methods vs DIY Approaches
Professional roofers utilize sophisticated flashing leak detection equipment that pinpoints hidden moisture sources with precision accuracy. Thermal imaging cameras identify temperature variations caused by leaks behind walls and roofing materials, revealing compromised flashing areas invisible to visual inspection. Water testing involves controlled flooding of specific roof sections while technicians monitor interior spaces for gaps, isolating exact failure locations in valley flashing or step flashing systems.
Electronic moisture meters detect elevated humidity levels within wall cavities and roof structures, confirming active leaks from damaged chimney flashing or deteriorated seals. Professional-grade borescopes allow inspection inside wall cavities and tight spaces where flashing connections may have failed without requiring destructive investigation methods.
Homeowners can perform basic flashing leak detection using simple observation techniques during rainfall. Interior monitoring involves checking attic spaces with flashlights during storms, tracing water entry points back to potential flashing failures above. Garden hose testing allows systematic water application to suspected problem areas while an assistant monitors interior spaces for leaks. Mark water stains with chalk to track progression over time, helping identify whether roof flashing repair addresses the moisture source effectively.
When Minor Repairs Become Major Replacements
Distinguishing between repairable flashing damage and complete replacement needs determines both repair costs and long-term roof protection effectiveness. Simple roof flashing repair typically addresses isolated issues like loose fasteners, minor sealant gaps, or small corrosion spots that haven’t compromised structural integrity. These repairs involve resealing joints, replacing damaged sections under six inches, or securing loose step flashing components without affecting surrounding materials.
Complete flashing replacement becomes necessary when corrosion extends beyond 30% of the component surface area, when multiple leak points exist along the same section, or when previous repair attempts have failed repeatedly. Valley flashing maintenance escalates to full replacement when metal shows extensive rust-through holes, separation from roofing materials, or structural warping that prevents proper water channeling.
Chimney flashing inspection often reveals systemic problems requiring professional replacement when masonry movement has displaced multiple flashing layers or when water damage has rotted underlying roof decking. Step flashing problems that affect more than three consecutive pieces typically indicate installation issues that require comprehensive replacement rather than piecemeal repairs.
Delaying necessary flashing replacement allows leaks to compromise structural roof components, insulation, and interior materials. What begins as surface rust or minor leaks quickly progresses to rotted roof decking, damaged rafters, and extensive mold growth throughout wall cavities, transforming manageable repair costs into comprehensive restoration projects.
Choosing the Right Professional for Flashing Repair and Replacement
Selecting qualified professionals for roof flashing repair requires evaluating specific certifications and experience with flashing systems. Look for contractors holding certifications from major roofing manufacturers, as these credentials demonstrate specialized training in proper flashing installation and repair techniques. State licensing ensures contractors meet minimum insurance requirements and industry standards for roofing work, while Better Business Bureau ratings provide insight into customer satisfaction and complaint resolution history.
Experience with specific flashing types proves crucial for effective repairs. Contractors should demonstrate expertise with chimney flashing inspection procedures, valley flashing maintenance techniques, and step flashing problems common to local roofing configurations. Request examples of completed flashing projects similar to your roof type, as installation methods vary significantly between slate, tile, and asphalt shingle applications.
Ask potential contractors about their flashing leak detection methods and diagnostic equipment. Professional roofers should explain their inspection process, warranty terms for flashing work, and material specifications for replacement components. Inquire about their approach to matching existing flashing materials and whether they provide written estimates detailing specific repair procedures. Contractors who offer comprehensive warranties covering both materials and workmanship demonstrate confidence in their flashing repair capabilities and provide long-term protection for your investment.
Protect Your Home with Expert Roof Flashing Inspection and Maintenance in South Jersey
If you’re noticing any signs of wear or damage on your roof flashing, it’s crucial to act swiftly to prevent more extensive and expensive damage to your home. Grand View Roofing & Exteriors specializes in thorough roof flashing inspections and maintenance that can save you from the headaches of water damage and structural repairs. Whether it’s chimney flashing inspection, valley flashing maintenance, or detecting leaks before they get worse, our team has the expertise to ensure your roof remains in top condition.
Don’t wait for minor issues to become major expenses. Contact Grand View Roofing & Exteriors today at (856) 305-9883 to schedule your professional inspection and keep your home safe and secure through every season.
Frequently Asked Questions
Got questions about your roof? We’ve got answers. From maintenance tips to insurance claims and repair timelines, our FAQ section covers the most common concerns homeowners have. Get informed and make confident decisions about protecting your home.
People Also Ask
Do building codes or manufacturer requirements affect how roof flashing must be installed?
Yes. Residential building codes and local amendments set minimum requirements for how flashing must be installed at roof intersections and openings. In addition, roofing and flashing manufacturers publish installation instructions that are treated as part of the approved method. If flashing is installed in a way that conflicts with either the code or the manufacturer’s instructions, the work can fail inspection and may also void applicable material warranties.
Can using different metals together in roof flashing cause problems over time?
Yes. When dissimilar metals are in direct contact and exposed to moisture, galvanic corrosion can occur, which accelerates the deterioration of the less resistant metal. To avoid this, flashing systems typically use matching metals or include separation layers that prevent direct contact. Ignoring metal compatibility can shorten service life even if the installation appears correct.
What records or documentation should be kept after flashing repair or replacement?
It’s a good idea to have dated photographs of the work, invoices describing the scope of repair, material specifications, and any permit or inspection records. This documentation can be relevant for warranty claims, insurance questions related to water damage, and property disclosures during a future sale.
Related Articles
-
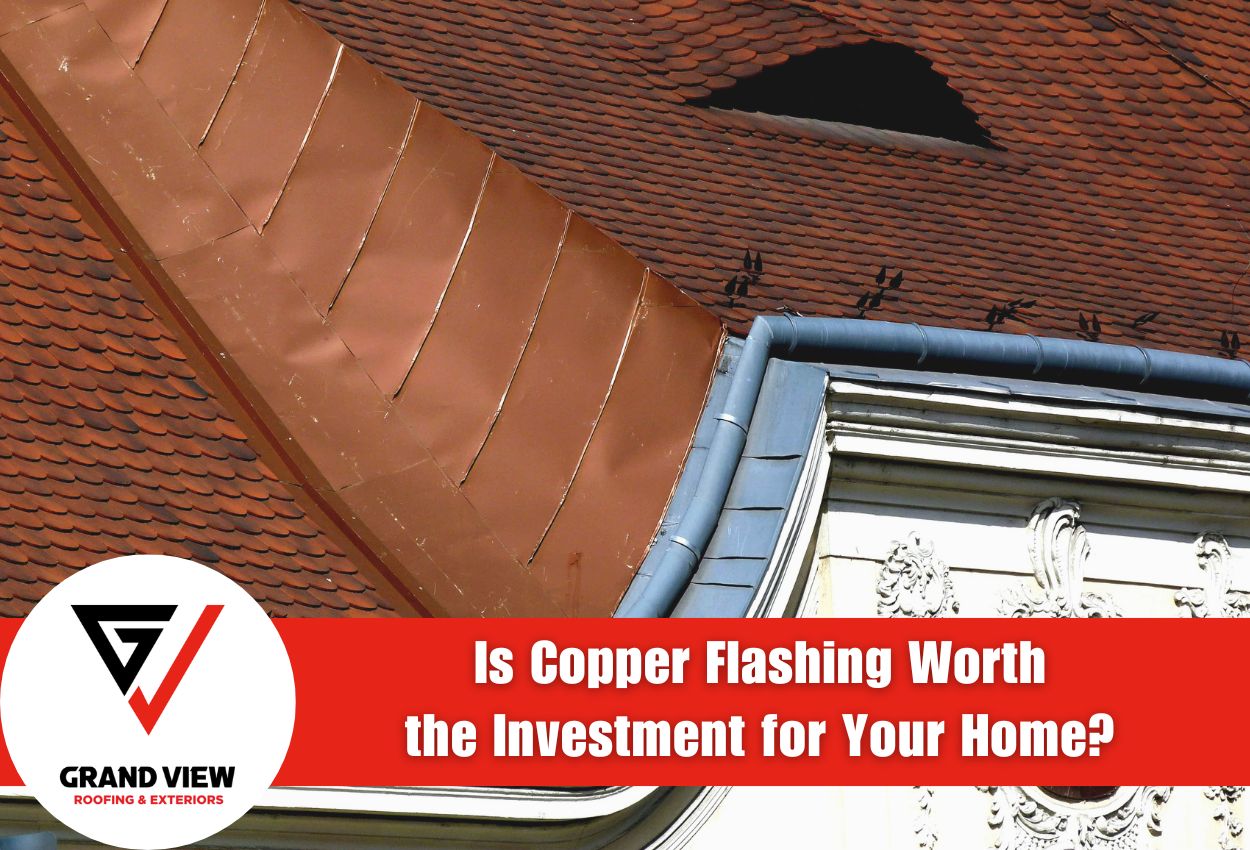 March 9, 2026Is Copper Flashing Worth the Investment for Your Home?Is copper flashing worth it? Learn about its durability, cost, and expert tips to choose the best option for your home.
 -
 December 15, 2025What is Steel Siding and Why Homeowners Choose ItWhat is steel siding, and why are homeowners choosing it instead of vinyl? Explore the benefits, durability, and installation tips.
 -
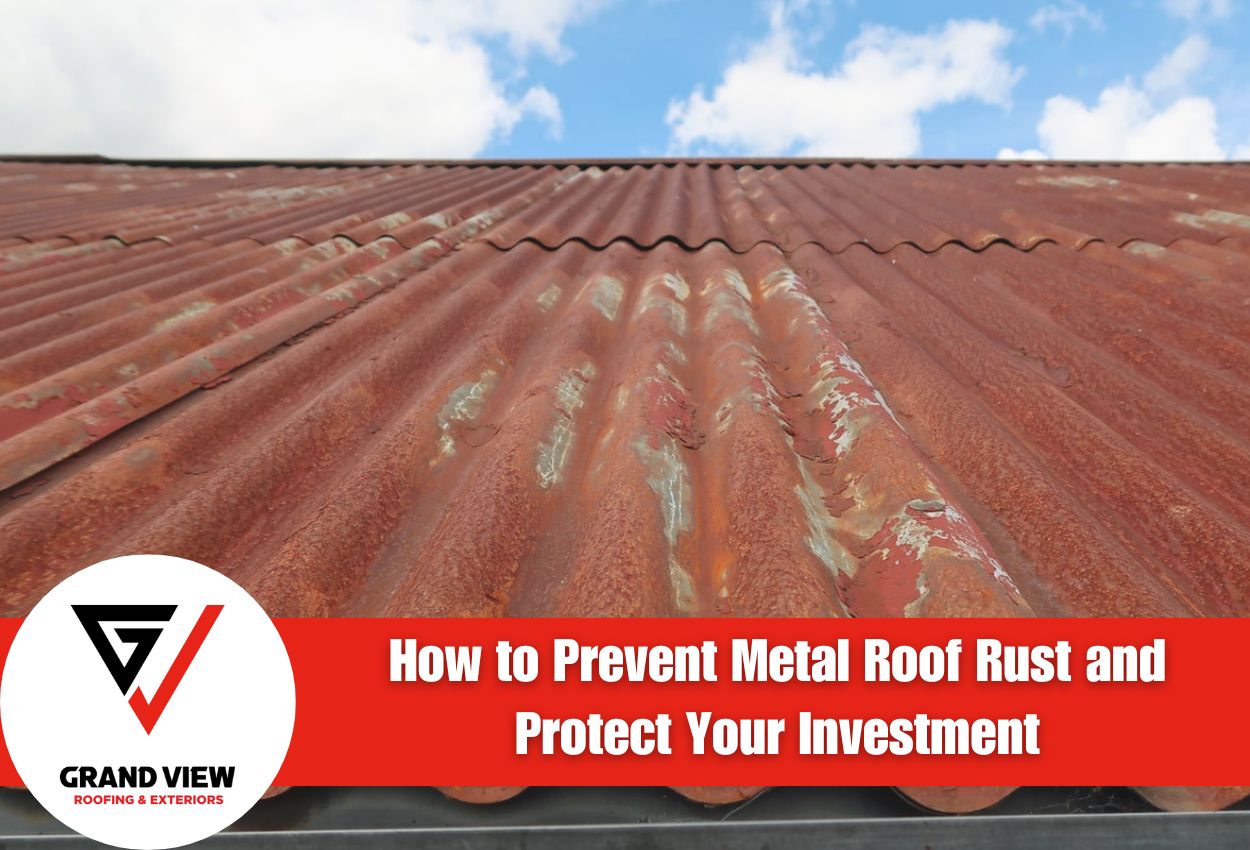 September 2, 2025How to Prevent Metal Roof Rust and Protect Your InvestmentConcerned about rust on your metal roof? Discover prevention methods with maintenance, protective coatings.
Protect Your Home with Expert Roofing
Don’t wait for leaks or storm damage to cause costly repairs. Our experienced roofing team provides fast, reliable service, high-quality materials, and lasting results. Ensure your home stays safe, secure, and looking great—contact us today for a free estimate.